
I am going to tell you how to remove car battery corrosion in 8 quick and easy-to-follow steps that anyone can do.
There are few things as frustrating as a dead car battery. It can keep you stranded at home or it can completely shut down your vehicle’s electrical system.
I have spent many hours researching battery corrosion removal techniques. This ultimate guide will help you deal with the problem.
The battery is the heart of your car. It’s what starts it, and it’s also the one of the most important parts to take care of.
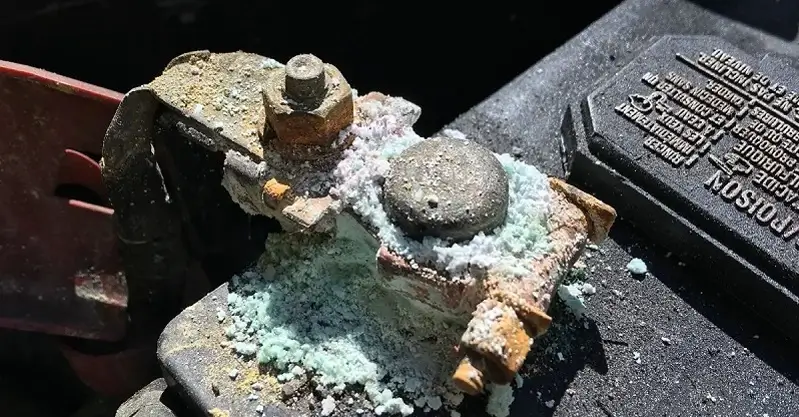
Over time, gasses escape from the battery due to overcharging or undercharging. They gather on the terminals of your battery, blocking the flow of electrons. This impedes your battery’s performance and can ruin your driving experience.
Neglecting to care for your car battery could put you in a situation where you have to replace it. And all because you didn’t know how simple it is to remove and prevent auto battery corrosion!
Now, I’m going to show you the exact step-by-step process for removing corrosion from any car battery.
Table of Contents
Safety
Always take sensible precautions when working with batteries. Handle them with the utmost care, and wear PPE.
Gloves
Always wear gloves to protect your hands from hazardous substances. Latex, PVC, and nitrile gloves are all good choices for battery handling.
Mask
When working with dangerous chemicals, always wear a face mask. Many people will instinctively try to blow off the loose corrosive powder. This is not advisable. A mask will protect you from inhaling corrosive particles.
Goggles
For similar reasons, protect your eyes.
Clothes
When dealing with the corrosion on your battery you don’t want to wear your best threads. The corrosion might bleach them.
Other Precautions
Although your battery won’t electrocute you, it is still one of the most dangerous parts of the car. Always avoid bridging the terminals with any wire or metal tool. It will cause sparks which may lead to a fire.
If your skin comes into contact with battery acid, rinse with soapy warm water.
You should also check your user manual before disconnection. Some vehicles will need a radio code. Don’t forget to save your favorite radio stations.
Tools
You will need the following items.
- Socket spanner or wrench (usually 8 or 10 mm)
- Baking Soda with Hot Water or Battery Cleaner
- Battery Terminal Cleaner Brush or Old Toothbrush
- Wet wipes
- Cool Water
- Air Compressor, Towel, Cloth, Rags
- Anti-Corrosion Pads, Terminal Protection Spray or Both
Step One – Kill the engine

If your battery is not dead, turn off the engine and remove the key from the ignition.
Step Two – Disconnect the battery
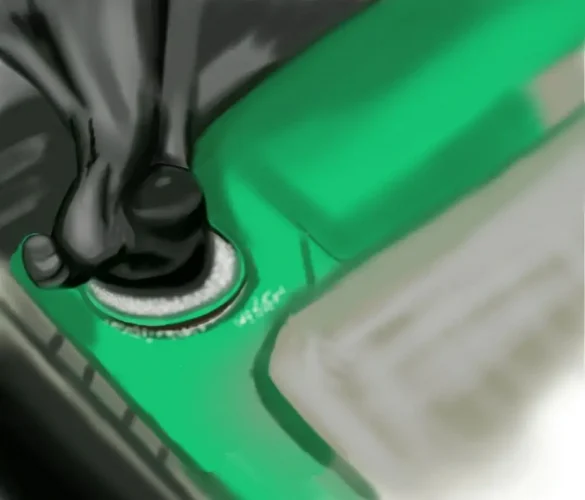
When disconnecting the battery, always disconnect the negative cable first. The negative cable is normally black, as opposed to the positive red cable. Usually, it is marked (NEG) or (-).
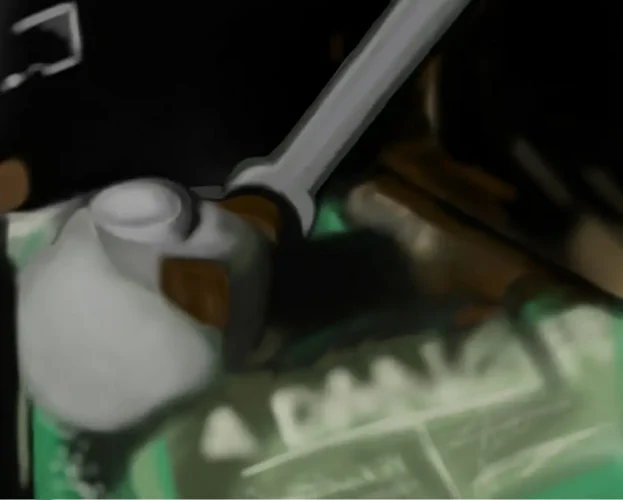
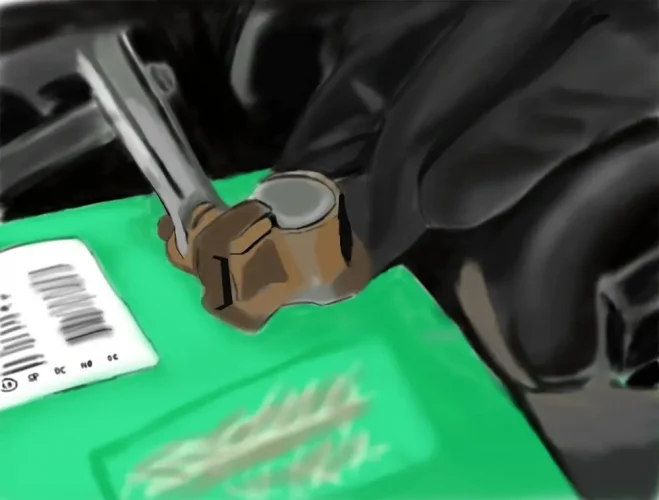
Use your wrench or socket spanner to unscrew the nut holding the clamp tight on the battery terminal.
Don’t force it to come off if it won’t. Apply your terminal cleaner and wait for 5 minutes. Then it should be easier.
When you are doing this, avoid bridging the positive and negative terminals with your wrench.
Then disconnect the (usually) red positive cable, marked “POS” or “+”. It will often be covered by a red plastic flap.
Step Three – Check the Car Battery, surrounding cables and clamps
Once you have lifted off the cables, it’s time to inspect what you have there.
Examine the battery for signs of swelling, cracks, or leakage. If you see any, it’s time for a new battery.
Also, inspect the surrounding cables. You are looking for any fraying, splintering, peeling, or cracking. If you come across any, they will need replacing.
And finally, have a close look at the metal wires themselves. Look out for signs of corrosion on the metal wires that disappear into the insulated outer coating.
If you spot any, it most likely extends inside and a new wiring harness may be necessary.
Extra Step – Remove the battery
Whilst not strictly necessary, I recommend complete removal of the battery. This will provide a better view of the terminals and make them easier to reach. It also stops water from running into the battery tray. And you get to clean it out as well!
If you worry about messing your driveway, place the battery in a bucket, or on an old piece of plywood.
Step Four – Clean the battery
Start by using a wet wipe to remove the loose powder from around the terminal. This will take care of loose particles, which will adhere to the moisture of the wipe. This minimizes the amount of airborne detritus.
Next, use another to clean the top of the battery. This is important because if there are any deposits on the top of the battery, they can cause leakage of current.
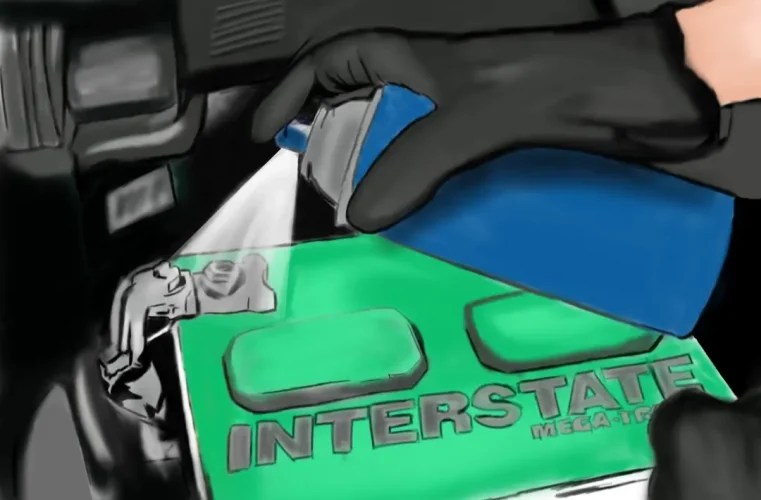
Now it is time to clean the terminal. You can use baking soda, coke, or a cleaner manufactured especially for the purpose.
Battery terminal cleaner spray
Terminal cleaner sprays are designed specifically to remove battery corrosion. Available brands include CRC and Sterling, which also supply battery terminal protective spray. These are available from your local auto parts center or online.
These cleaner sprays are of excellent value as they will neutralize the battery acid. Always read the label.
Baking Soda and hot water.
This is another favorite method of corrosion removal. If you cannot get to an auto parts center, this is available from your local grocery store or 7-11.
Rather than sprinkling the baking soda onto the corrosion and then pouring on water, it is best to mix a paste and then apply it to the affected area.
Otherwise, if you pour water directly onto the battery, you risk ingress from the resulting mix into one or more of your battery’s cells. This will neutralize the acid within and ruin the battery.
You need to mix equal amounts of baking soda and water together to make a paste, so mix half a cup of each.
Apply to the affected areas with your brush. Wait for a few moments while the reaction happens, then brush away.
Now do the same with your cable ends. Use your brush to reach inside the loops and scrub to create a good, clean contact area.
You can use a small amount of cool water to rinse off any residue.
Coke
Pour the Coke onto the terminal. Try to use only as much as necessary. When the Cola hits the corrosion, it will start to bubble and sizzle.
Let the reaction do its work. Then, use your brush to scrub loose what is left. To avoid a sticky mess, rinse the area of Coke and corrosion with water.
Remember, Coke contains phosphoric acid and synthetic sugars. These may harm delicate parts of your engine. Hence why you should remove the battery before undertaking this procedure.
If you already own a Battery Terminal Cleaner Brush, make sure to clean and rinse it to preserve it for future use.
Step Five – Dry Your Battery
Ensure your battery is completely dry before re-attaching the cables. To speed up the process you can use an air compressor, cloth, towel, some paper towels, or let it dry naturally.
DO remember to do this, because water and electricity are not a great combo!
Step Six – Add anti-corrosion pads
Also known as Battery terminal protectors, these pads help to prevent future corrosion.
It is best to use pads soaked in Battery Corrosion Preventative Compound. You can buy these, pre-soaked, from all auto parts stores.
Step Seven – Reconnect the battery
Do this in the opposite order to how you removed the battery. So, connect the positive cable first and then the negative cable.
If your battery post is worn and the clamp won’t retighten, consider purchasing battery shims.
These are lead battery post covers that crimp onto the worn battery terminal when you tighten the clamp.
Step Eight – Protect against future corrosion
I recommend one of the following:
Battery Terminal Spray – Spray over the terminals and the cable ends. While you should wait until after you have reattached the cables to apply the dielectric grease, battery spray can go on before or after. Always read the label before use.
Dielectric Grease – A dielectric grease will protect terminals and wires from corrosion.
It is important to apply AFTER you connect the cables, so it doesn’t get between the cable and the terminal.
Vaseline. If you look online, many people recommend using petroleum jelly on the terminals to protect them from future corrosion.
Whilst this won’t cause any harm, it’s not really necessary. Because the jelly has a melting point of 130°F, but the average engine bay temperature is more than 195°F, it won’t survive for long.
What causes battery corrosion
The electrolyte within a Lead Acid Battery is sulfuric acid. This produces hydrogen and oxygen gases. During discharge, the generation of these gasses is minimal, but when charging it is significantly more.
When the hydrogen reacts with the moisture and salts in the atmosphere under the hood, it generates a corrosive environment. The green, white and blue flaky substance that collects on the battery terminal is the crystallized byproduct of these reactions.
What problems can Battery Corrosion cause
Battery corrosion can be a big problem for your vehicle and you should treat it as soon as you discover it. Because the corrosion itself is not conducive it restricts the flow of current.
This will reduce its ability to provide power or reduce the ability of the alternator to recharge it.
As a result, the voltage level of the battery decreases. If this continues, then the battery may not hold a charge and the engine will not start.
The following are some of the most common symptoms of corrosion.
Your vehicle won’t start or is difficult to start.
Other problems include dim headlights and issues with your electrical systems. Harm to air-con lines, electrical wiring, and even the chassis is possible.
The battery loses about 5% of its capacity each year, and corrosion will speed up this loss.
What to do Next
And that’s it!
You now know how to make your battery corrosion-free, one less thing to worry about.
But, if you need a new battery soon, consider investing in an AGM (Absorbent Glass Mat) battery. They last longer, are maintenance-free, unlikely to corrode, and don’t leak!
How to Remove Car Battery Corrosion -Frequently Asked Questions
Here are the FAQs.
Can you clean battery terminals while connected?
You need to disconnect the battery so that you can clean the terminals and connectors thoroughly. If you do not disconnect, you may not be able to clean away some of the corrosion between the terminal and the connector. This will leave you still vulnerable to potential problems.
Why is Coke a good corrosion remover?
One of the ingredients inside Coke, Phosphoric Acid, makes it a good agent with which to remove either corrosion or rust. Phosphoric acid is an ingredient in most rust removers.
Like How to Remove Car Battery Corrosion? Check out our Related Articles!